Curiosity grows when learners dive into hands-on STEM challenges at home, leading them to develop practical skills they can use every day. Organizing these projects with a thoughtful plan ensures that each activity remains both enjoyable and purposeful from start to finish. Begin by outlining simple research questions, breaking the process into manageable steps, and selecting materials that are easy to find around the house. By preparing in advance, you can support learners as they move through each part of the challenge, making the experience smoother and more rewarding for everyone involved.
Focus on projects that suit available space and tools. Sketch a project roadmap that includes objectives, materials, and safety checks. That roadmap serves as your blueprint and keeps both you and learners on track.
Choosing Engaging STEM Projects
Select topics that match a learner’s interests and goals. List factors in order of importance.
- Relevance: Does the topic connect to daily life?
- Complexity: Can the learner handle each step?
- Resources: Are tools and materials within budget?
- Timeframe: Will the project fit a reasonable schedule?
Ask family members or friends for feedback to refine your choices. Find out what excites them most: robotics, environmental science, or coding experiments. Their input often points to projects that keep students motivated.
Planning Materials and Resources
Organize tools and supplies in a clear list. Group items by source or cost to make shopping and storage easier.
- Hardware: wires, motors, screws
- Software: coding platforms, apps
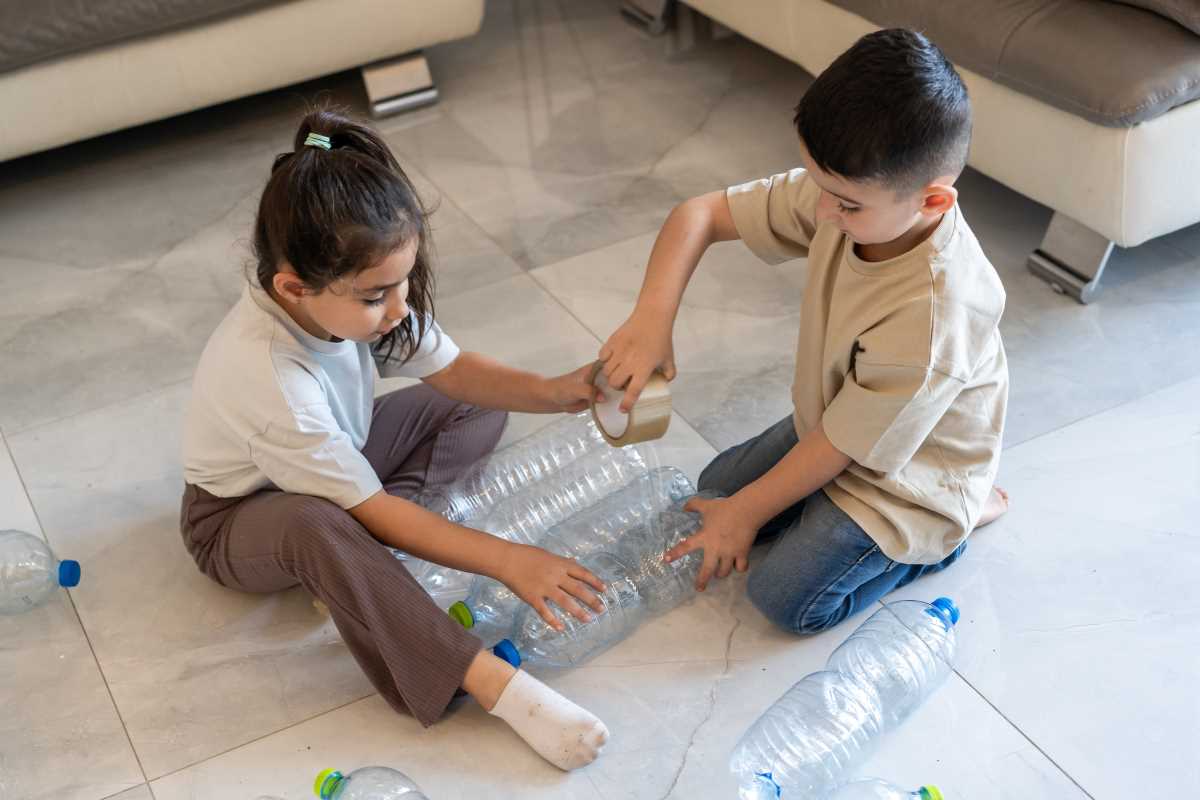
- Recycled items: cardboard, plastic bottles
- Safety gear: goggles, gloves
Label containers and store similar items together. A tidy workspace speeds up setup and cleanup. That allows learners to focus on experimentation.
Structuring Step-by-Step Instructions
Break tasks into numbered steps. Guide learners through each action, from setup to troubleshooting. Embed links directly where they are most helpful.
- Write a clear goal statement.
- List each tool and material.
- Describe setup instructions with diagrams or photos.
- Outline testing phases and expected results.
- Include tips for common mistakes.
Encourage learners to note their observations in a journal. Suggest prompts under each step to spark reflection. That practice deepens understanding and creates a record of progress.
Assessing Learning Outcomes
Create simple rubrics that score tasks on clarity, creativity, and accuracy. Use a scale from one to five for each criterion. That scale helps learners identify where to improve next.
Hold short review sessions after each project. Ask learners to demonstrate key skills or explain concepts in their own words. That quick check reveals gaps and boosts confidence as they master new ideas.
Adapting for Different Skill Levels
Adjust steps to fit individual strengths and struggles. Offer challenge options that allow learners to decide how deep they want to go into a concept. That choice keeps advanced students engaged and prevents beginners from feeling overwhelmed.
- Beginner: Follow a guided template with built-in instructions.
- Intermediate: Tackle an extra step, such as coding a basic sensor response.
- Advanced: Research alternative materials or add data analysis.
Rotate roles like researcher, builder, and presenter in group settings. Learners practice different skills, build teamwork, and apply STEM knowledge from multiple angles.
Evaluating and Next Steps
Summarize key takeaways at the end of each project. Highlight successes and brainstorm improvements. That reflection prepares the way for the next challenge.
Encourage learners to suggest their own project ideas to stay engaged. This cycle of planning, doing, and reviewing promotes continuous progress and enthusiasm for STEM at home.